

SUBLIMATION APPLICATION
-
PREP
Blank must be clean, dry, and lint-free
Lint roll fabric thoroughly
Pre-press garment 5–10 seconds to remove moisture & wrinkles
-
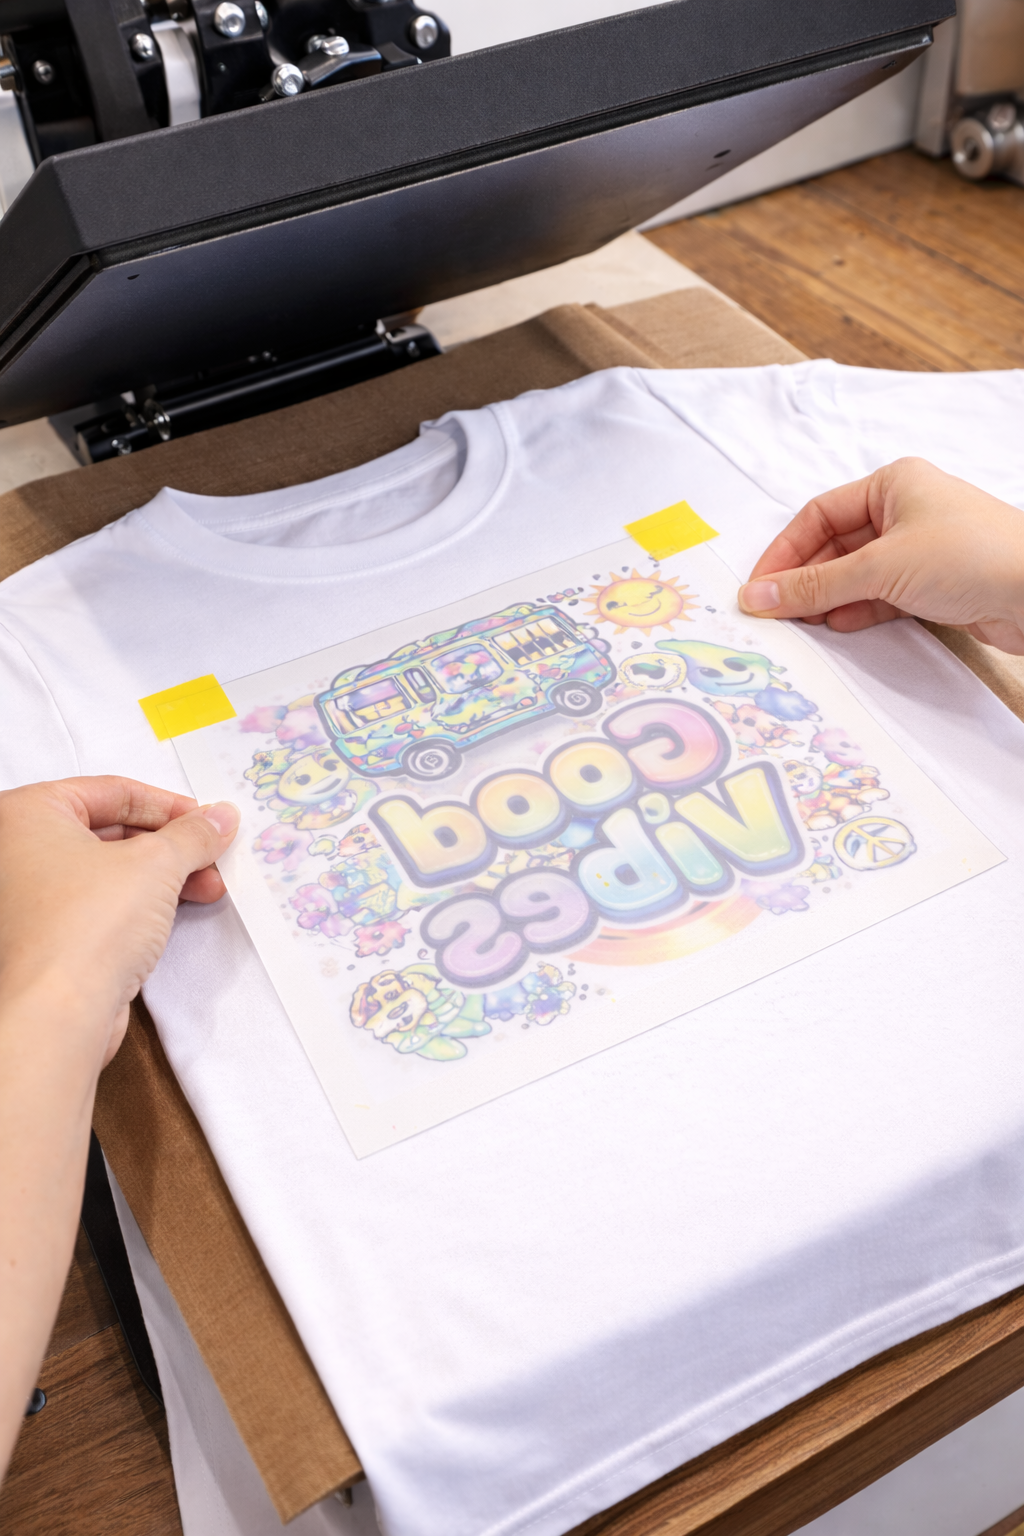
POSITION
Place sublimation print ink-side down
Secure with heat tape (hard goods) or light tape (fabric)
Use protective paper inside & on top of garment -
PRESS SETTINGS
FABRIC:
• Temp: 385–400°F
• Time: 45–60 seconds
• Pressure: Medium–FirmHARD GOODS (mugs, tumblers, etc.):
• Temp: 385–400°F
• Time: 180–240 seconds
• Pressure: Medium -
REMOVE
Remove paper immediately while hot
Avoid shifting to prevent ghosting
Allow item to cool completely
What materials work with sublimation?
✔️ Polyester fabric (65%+ poly recommended)
✔️ White or light-colored fabrics
✔️ Poly-coated hard goods (mugs, tumblers, metal, etc.)
🚫 Sublimation does NOT work on 100% cotton or dark fabrics.
Can I layer sublimation designs?
No. Sublimation cannot be layered like vinyl or DTF.
Can I sublimate colored fabrics?
Sublimation ink is transparent. It works best on white or very light colors. Dark fabrics will distort or hide the image.
How should sublimated items be washed?
• Wait 24 hours before washing
• Wash inside out
• Cold water only
• No bleach or fabric softener
• Tumble dry low or hang dry