
UV DTF APPLICATION
-
Clean the Surface
Wipe the area with rubbing alcohol.
Make sure it is dry, dust-free, and oil-free before applying.
-
Peel the Backing
Slowly peel the white backing off the transfer.
The design should remain on the clear carrier film.
-
Position the Design
Carefully place the clear film onto your surface.
Once it touches, it cannot be repositioned, so align carefully.
-
Apply Firm Pressure
Press down firmly from the center outward.
Use your fingers or a squeegee/card to remove air bubbles and ensure full adhesion.
Apply strong, even pressure over the entire design.
-
Remove the Carrier Film
Slowly peel the clear film away at a sharp angle.
If any part lifts, lay the film back down and press again.
-
Final Press (Optional but Recommended)
Firmly rub over the design one last time to ensure maximum bond.
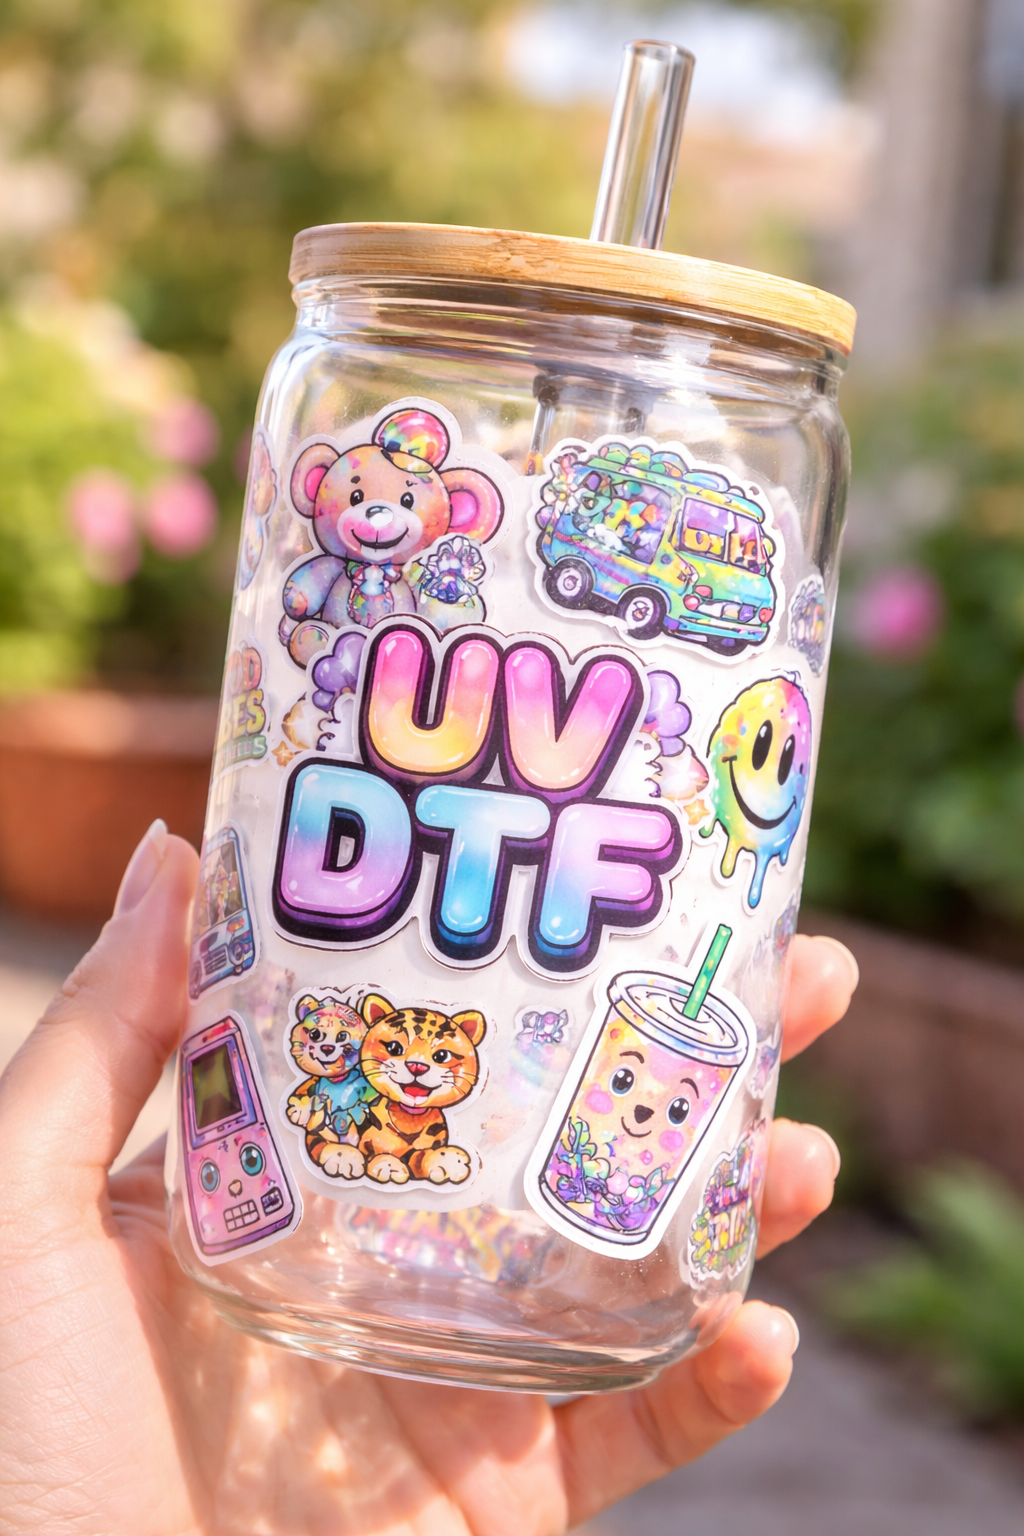
What surfaces can I apply UV DTF to?
UV DTF works best on smooth, hard surfaces, including:
- Glass
- Plastic
- Metal
- Acrylic
- Stainless steel tumblers
- Sealed wood
- Phone cases
- Notebooks
🚫 Not recommended for: fabric, silicone, rubber, or textured/porous surfaces.
Do I need heat to apply UV DTF?
No. UV DTF is pressure-activated and does not require heat.
Can I reposition the transfer after placing it?
No. Once the adhesive touches the surface, it bonds immediately. Make sure to align carefully before applying.
How long should I wait before using or washing the item?
Allow 24 hours after application before washing or heavy use.
Is UV DTF dishwasher safe?
No. For best longevity:
- Hand wash only
- Do not soak
- Avoid dishwashers and microwaves
Will UV DTF work on curved surfaces?
Yes, as long as the curve is gentle and smooth (such as tumblers or cups). Extreme curves may cause lifting.
Why does my transfer have bubbles or wrinkles?
This usually happens when:
- The surface wasn’t fully cleaned
- Pressure was uneven
- The surface is textured or curved too sharply
Use firm pressure from the center outward to avoid bubbles.